
Installing Python using Miniconda
We will be installing Python 3.10 for this class. Miniconda is a Python package manager.
It helps us install python and the various packages (folders full of code) we will use in the course.
It also comes with a terminal we can use to run python.
Download Miniconda here: Miniconda download page
You will select a link from the Latest Miniconda Installer Links section.
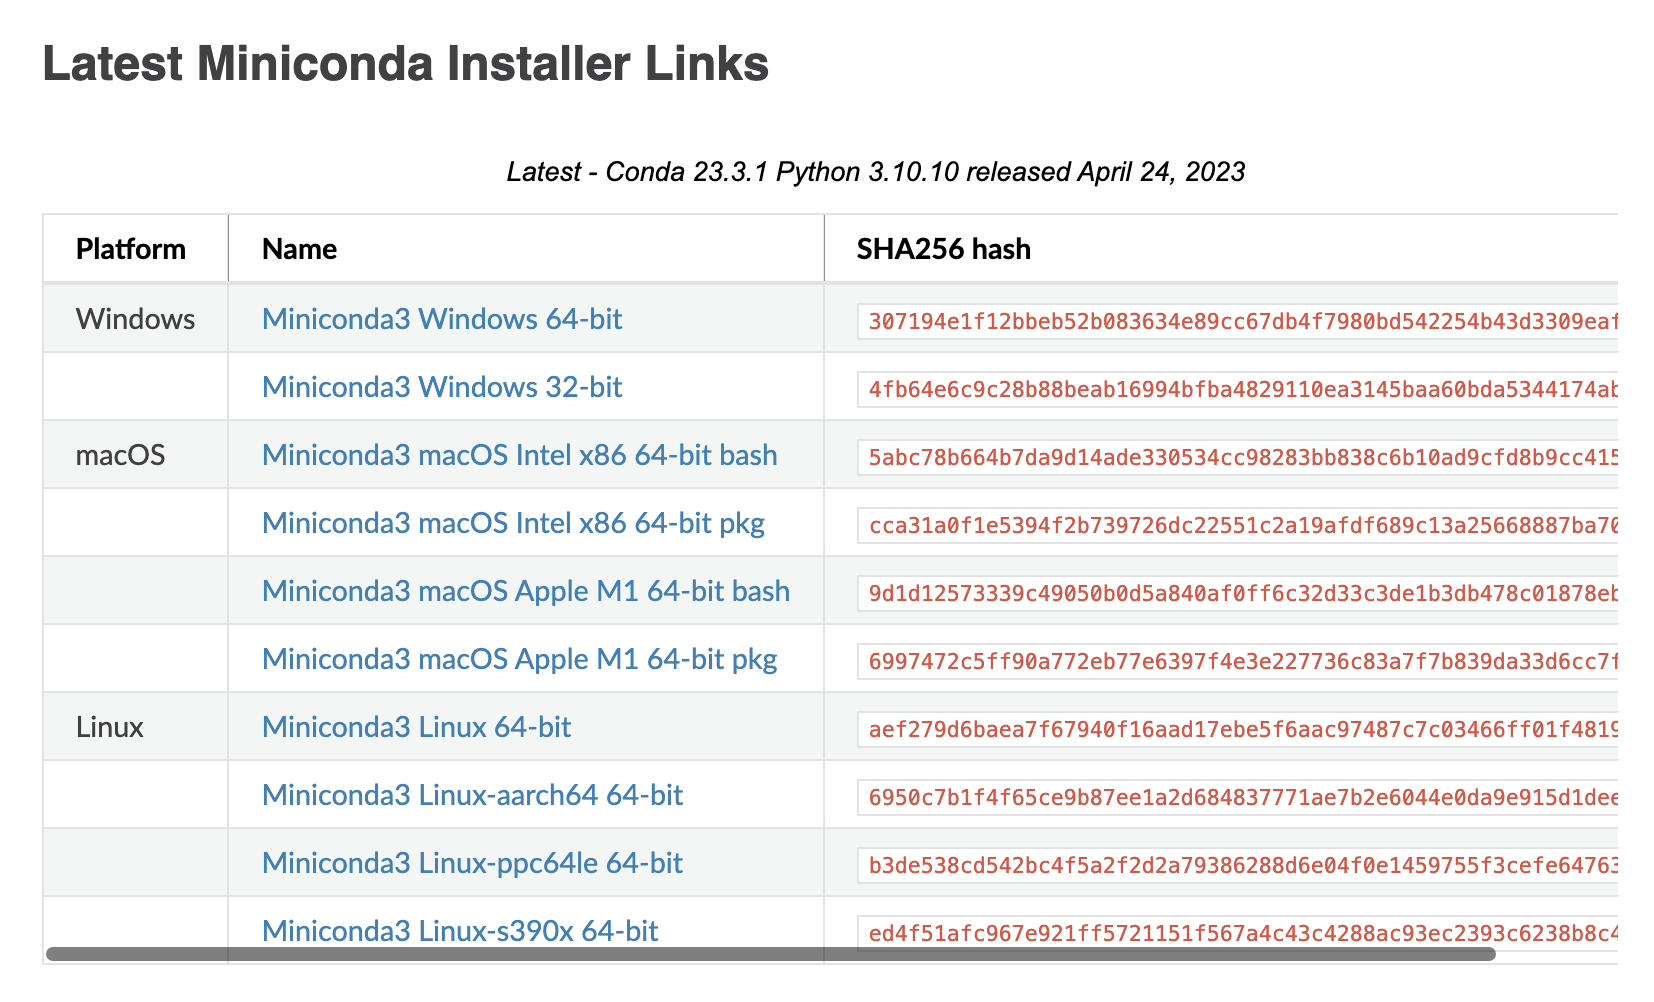
Windows
You probably want the 64-bit installer (unless your computer is older than you are…)
Open the .exe file and you will see first setup screen:
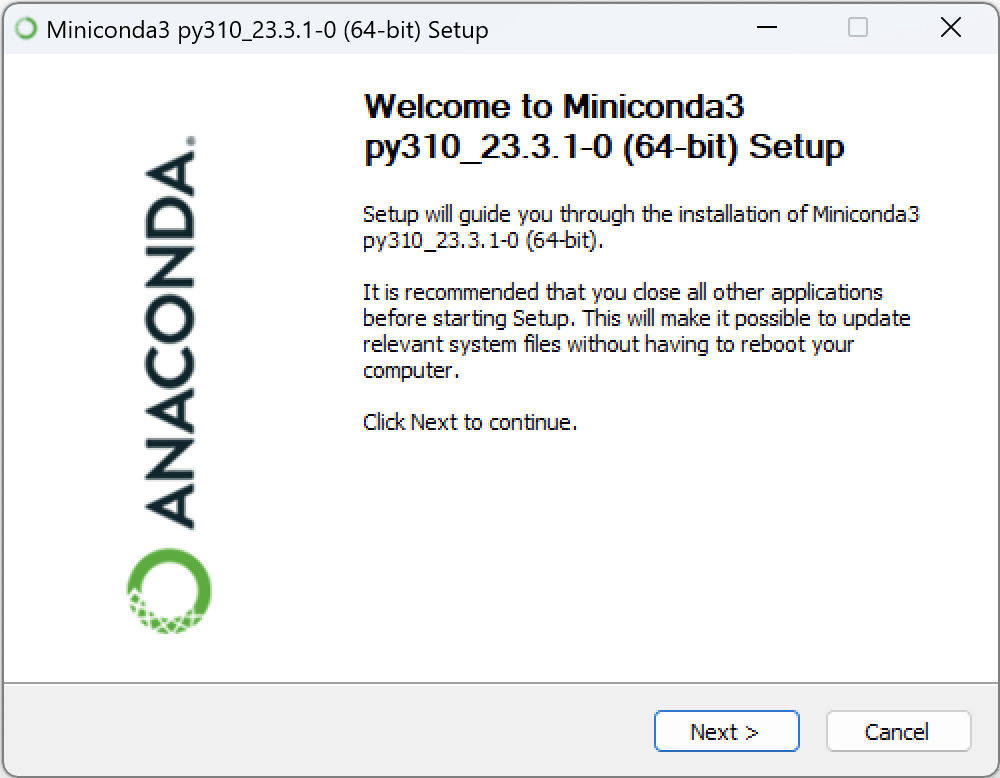
Click Next, and I Agree on the next page.
On the third setup screen, you will see this page:
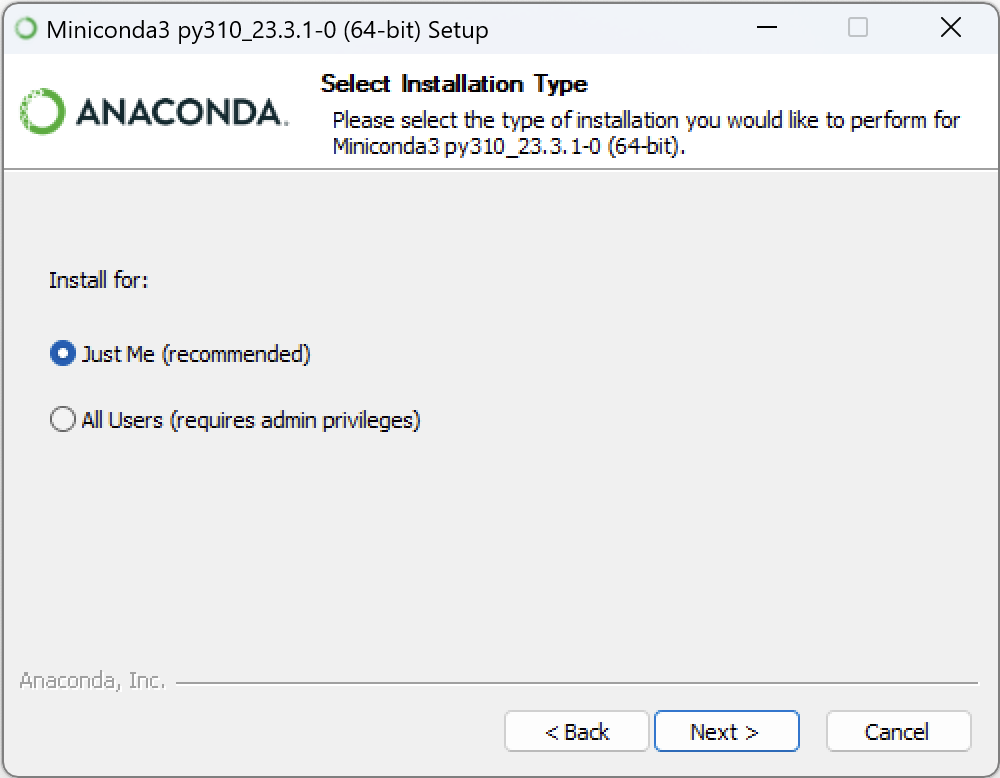
Select “Just me”, then Next.
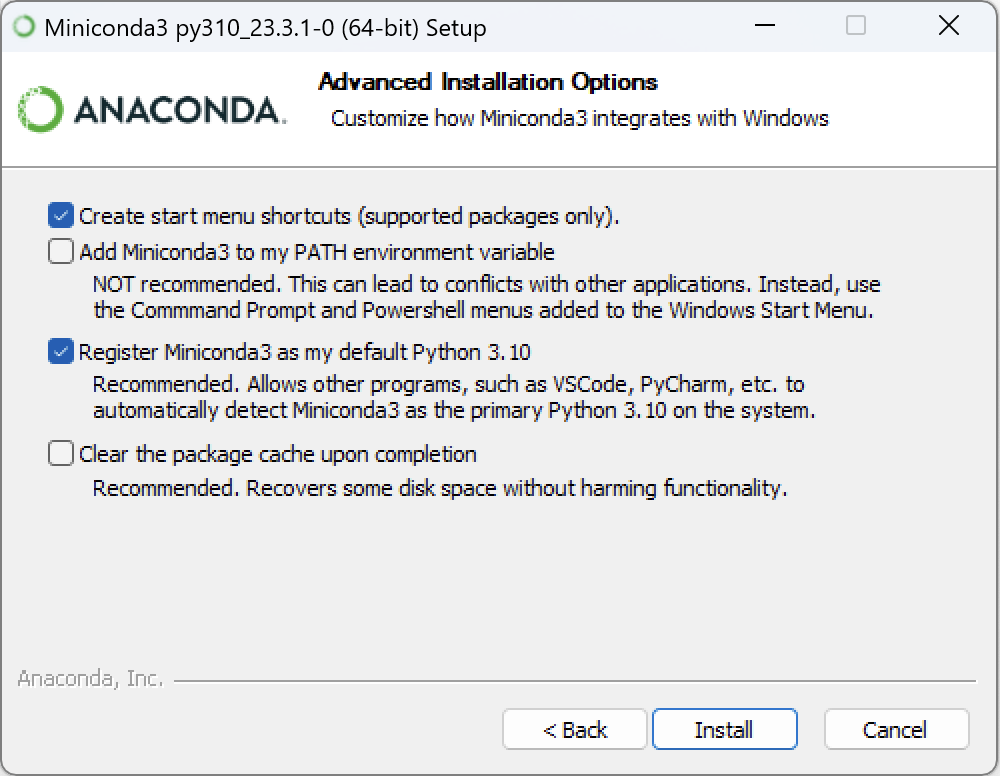
On the next few pages, you can accept the default settings, then click install.
You won’t need to read the tutorials on the miniconda website today.
Windows create conda environment
A “conda environment” is like a space in your computer where certain tools are available. Just like how at home you know you can find scissors, we will make a conda environment for this class where the computer can find the packages we will install.
You’ll open a different terminal this time called “Anaconda Power Shell (PS) Terminal”. (Not Anaconda Prompt or Power Shell).
Copy and paste the following two commands:
conda create -n cs110 matplotlib pytestconda run -n cs110 python -m pip install byu_pytest_utils byubitThe first command creates an environment called cs110 and includes the well-known matplotlib and pytest packages. The second command runs an installer called pip inside the cs110 environment. Pip is useful for creating your own packages and installing less well-known packages, like byu-pytest-utils and byubit.
MacOS
In Fall 2021, Apple started building laptops with M1 processors instead of Intel processors.
You can determine which kind of processor you have by clicking the Apple icon at the top left of your screen, then “About This Mac”
If the chip section says “Apple M1” in it, you have an M1 processor. If it doesn’t, you have an Intel (x86) processor. Select the pkg installer that corresponds to your processor.
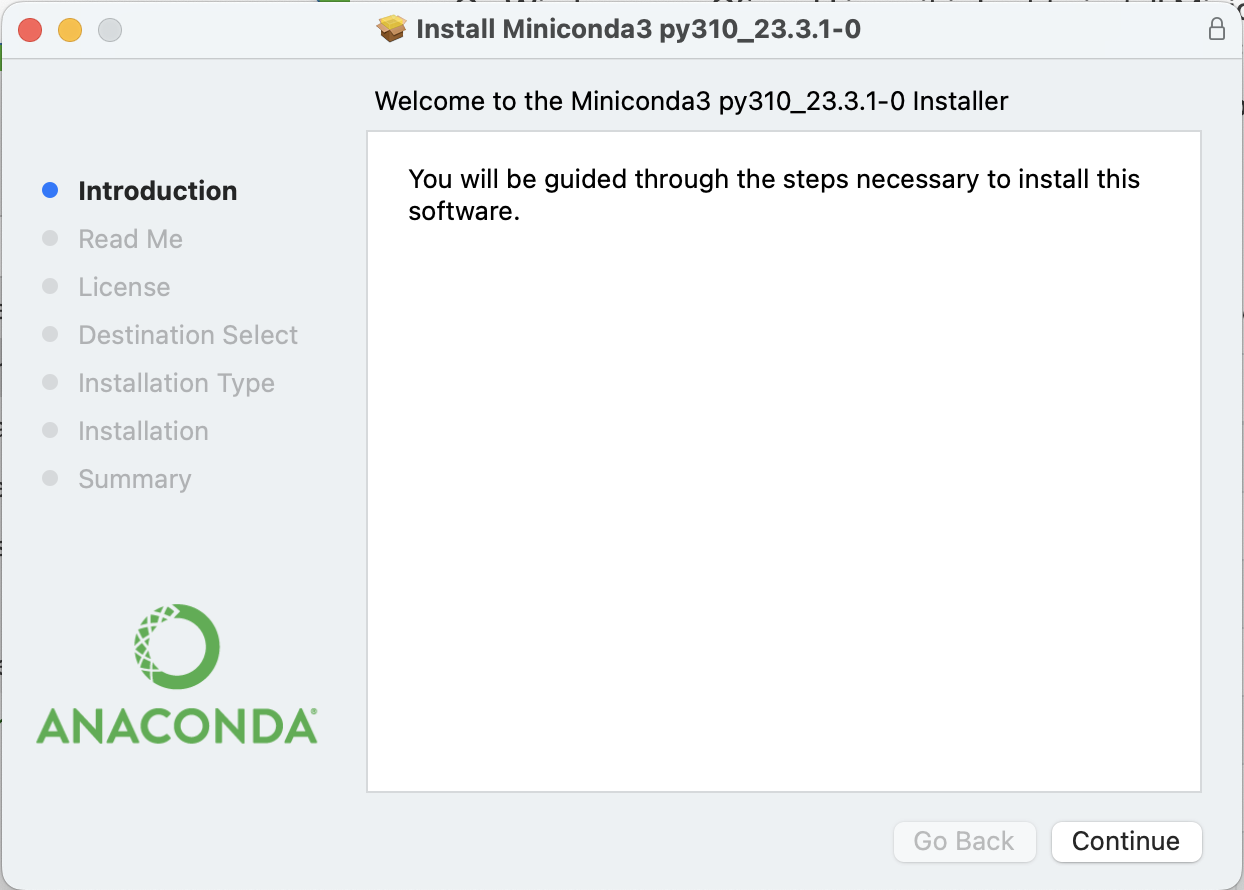
Open the pkg and you will see the first screen:
Click the Continue button several times and you will eventually get to the last screen:
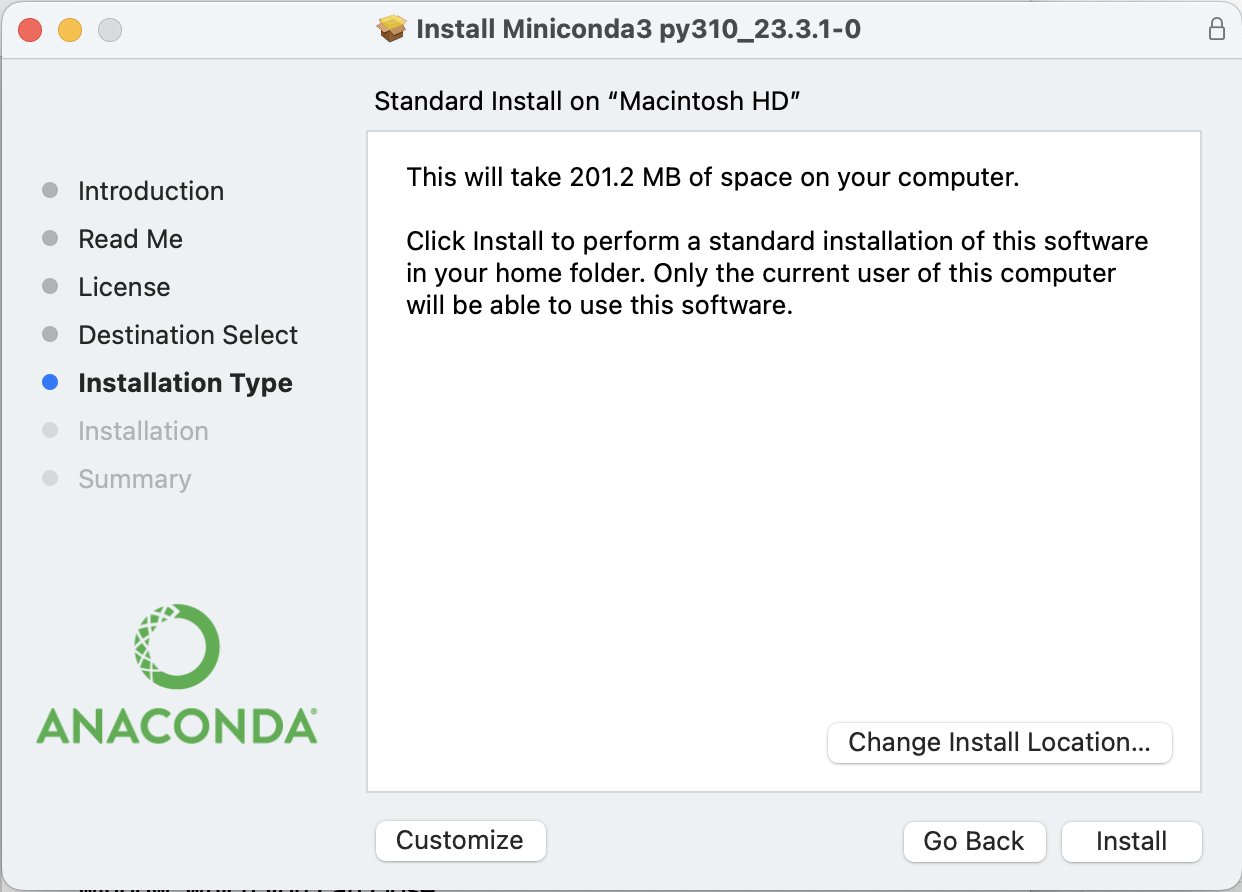
Click, the Install button and when it is finished you will see the final window, which you can close.
Mac create conda environment
A “conda environment” is a space in your computer where certain tools are available. Just like how at home you know you can find tools like scissors or a pencil, we will make a conda environment for this class where the computer can find the packages we will install.
Open the Terminal app.
Copy and paste the following two commands:
conda create -n cs110 matplotlib pytestThis first command creates an environment called cs110 and includes the well-known matplotlib and pytest packages.
conda run -n cs110 python -m pip install byu_pytest_utils byubitThis second command runs an installer called pip inside the cs110 environment. Pip is useful for creating your own packages and installing less well-known packages, like byu-pytest-utils and byubit.